The build table
I had planned for this entry to be the first modifications
but after realizing the amount of preparation required and some of the pre
modification difficulties encountered I thought I would include them since this
is about the reality of, not the fantasy of both building something completely
new
First I am doing my development work in a small and very
crowded single car garage and a brief visit with my tape measure revealed that
I had some major re-organizing to do to make the room this project would
require.
Second I am making do with basic tools I already have on
hand unless there is absolutely no way to accomplish a given task without
buying a tool. I have started and run
successful small businesses in the past all with the common start up factor of
being debt free.
As for using what’s available, s couple years’ back when we
had purchased a new kitchen table I had taken the legs of the old heavy wood
one and stored it against the garage wall for just a time like this. I realized that it would be a little too
short, but figured a sheet of 4’x8’ ply screwed to the top would provide the
extra width and length needed for the build while providing a flat surface to
work on.
That gave me a big enough table but I still needed to clear
a space for that table and room to work around it as well. Fortunately my wonderful wife had purchased
several heavy duty rolling storage racks which were placed along the walls and
were stacked sealing high with all manner of stuff married folks accumulate
over 23 years of marriage. Three plus
hours later, and a lot of old VW parts moved to the back yard shed and a
complete organization of my tools and our various “stuff” provided the needed
space. A short time later the table was
assembled and a sheet of the cheapest ½” stuff I could find had been attached
to the table with some left over 1” wood screws.
I thought of various methods to put a straight line down the
table tops center but settled on using a piece of string and an old can of left
over spray paint. I measured and marked
the center of each 4’ end and then hung two partial gallons of house paint leftovers
uncovered during the clean up from opposite ends of a string, one hanging off
of each end of the table. I lined the
strings up on each of the pre-marked locations and then sprayed straight down
on the string from above with cheap spray paint covering the string the full
length of the table. The paint was given
a few minutes to flash dry and the string was removed leaving a nicely
highlighted and VERY straight line down the center of the table. This was needed to help me keep things square
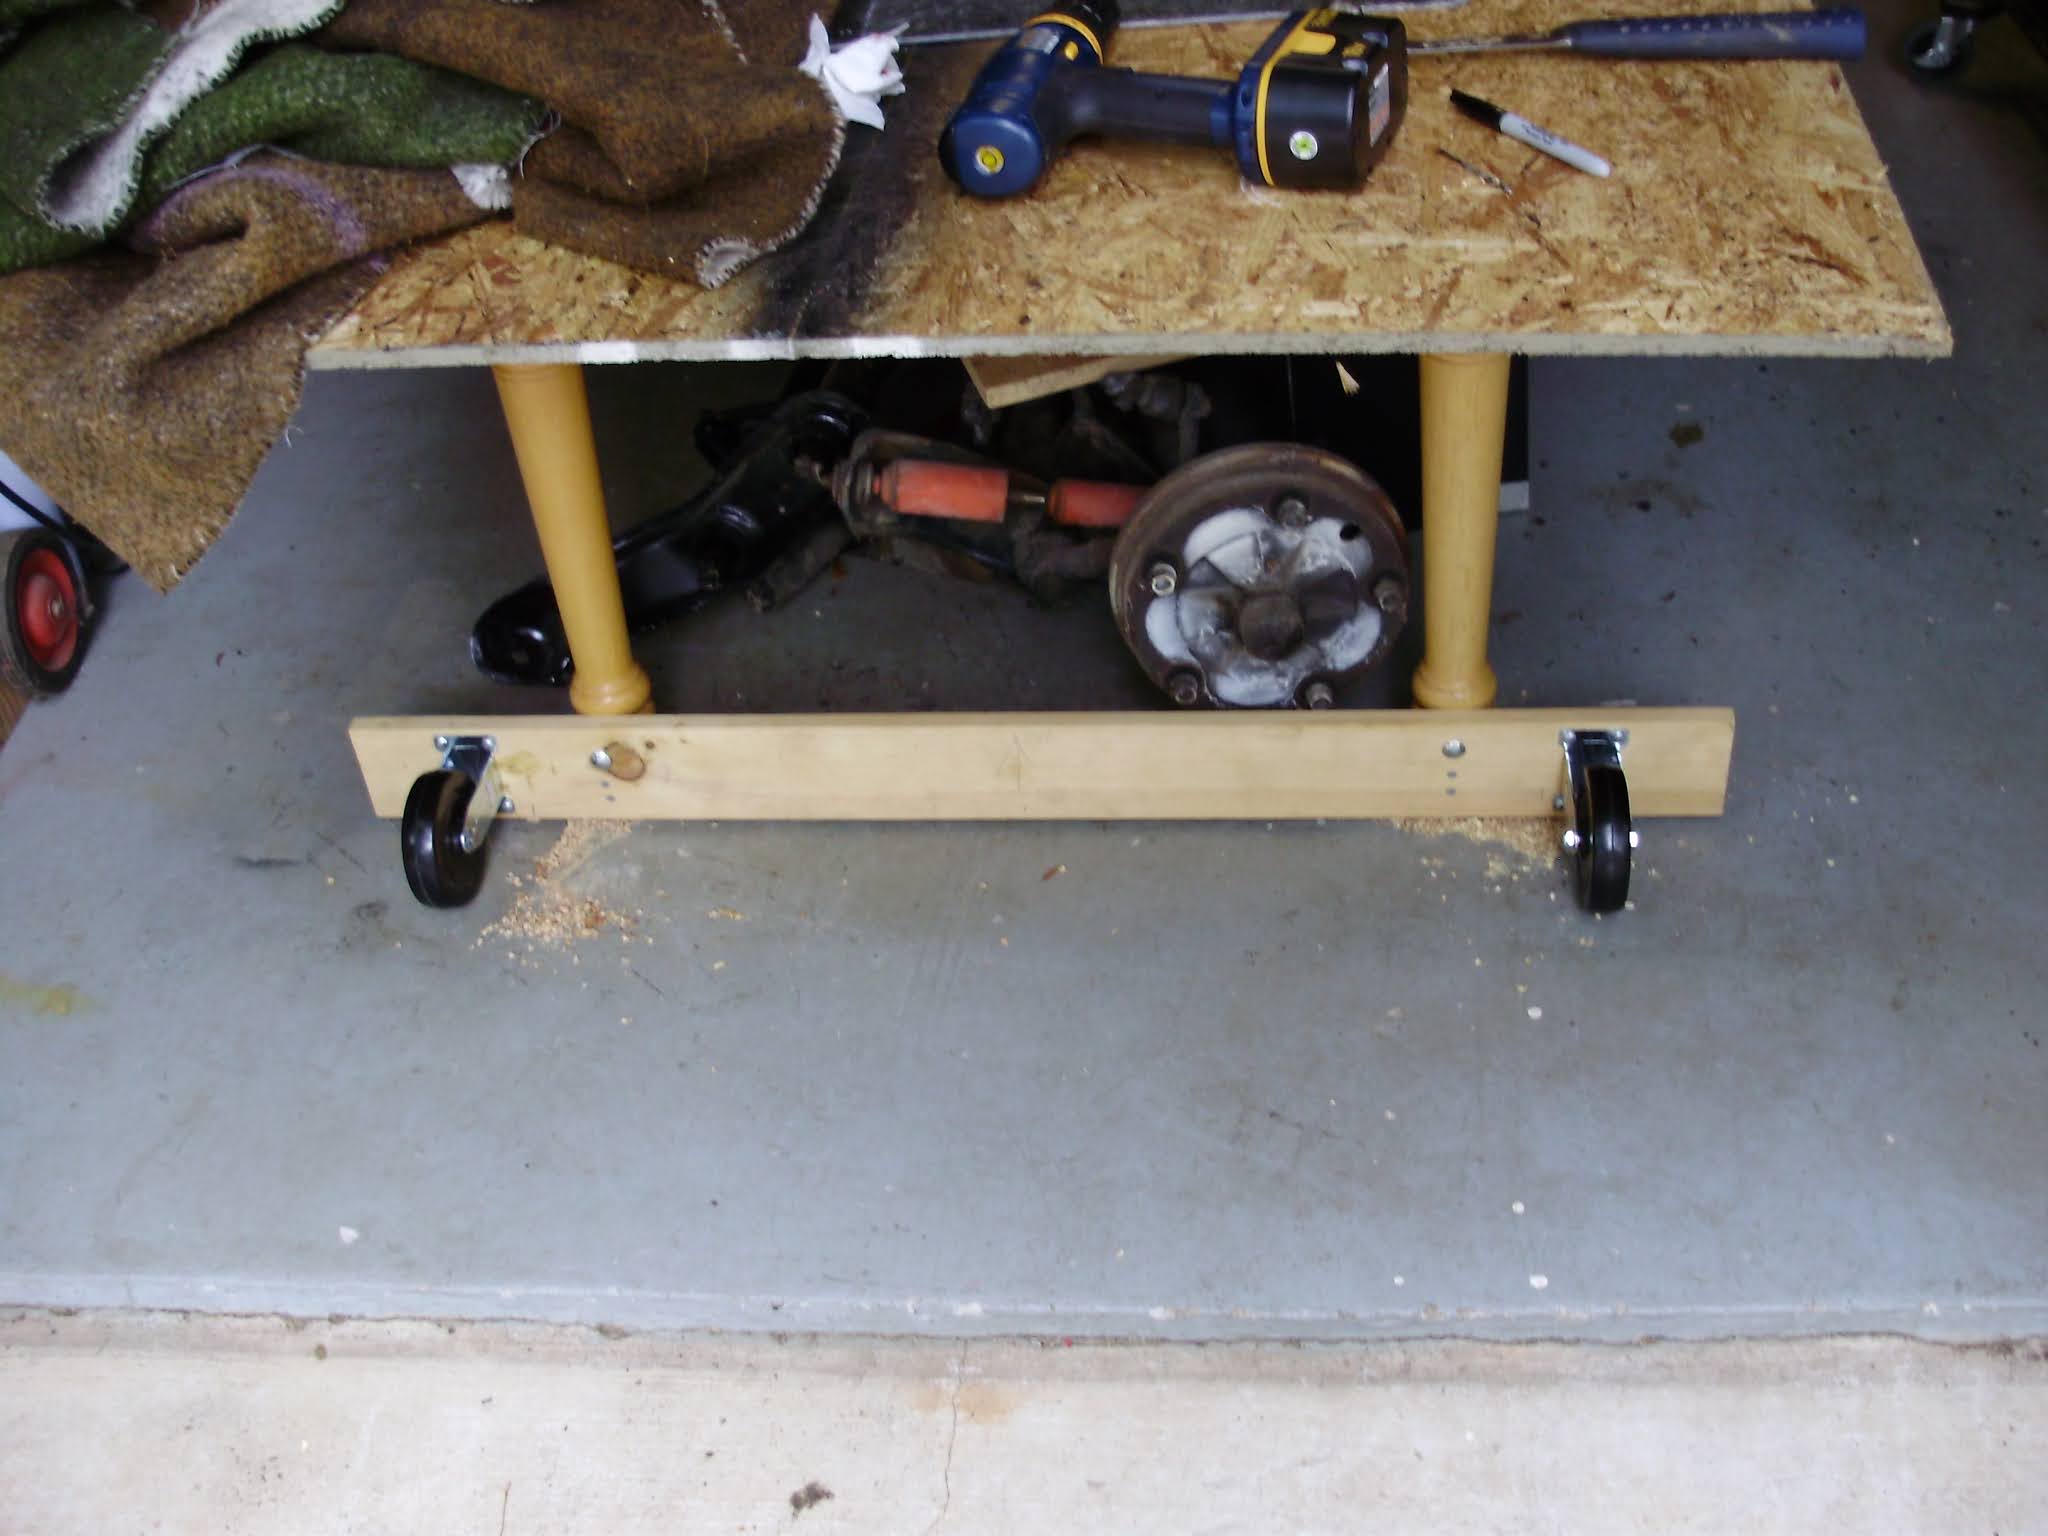
as I slice and dice the body. I also added wheels so I could move the table in and out myself since I am almost always working alone.


Comments
Post a Comment